How to use Baxter
1. Start Baxter
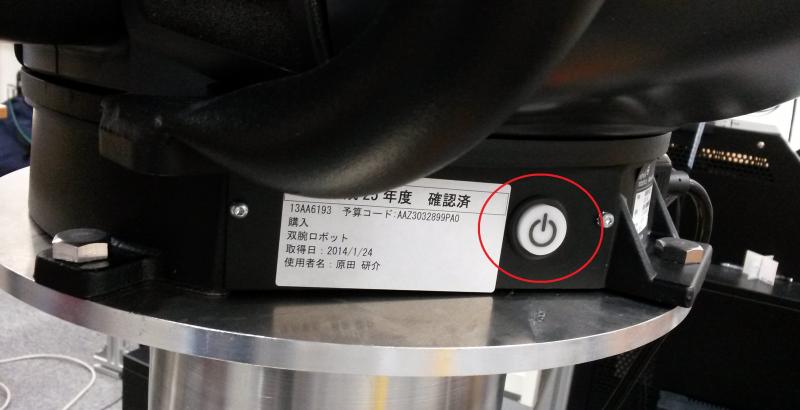
1) Push the switch at the left back of the body of Baxter for power supply. After a few seconds, you will see "RethinkRobotics" logo on the display of Baxter.
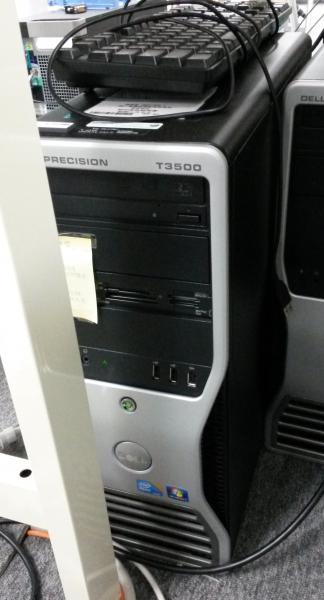
2) Start the PC that is for communicating with Baxter (from here call it Baxter-PC) and log in Ubuntu (ID: vmrguser, Pass: same as ID).

Baxter-PC is under the table located in front of Baxter(16.03.2016)
3) Connect to Baxter
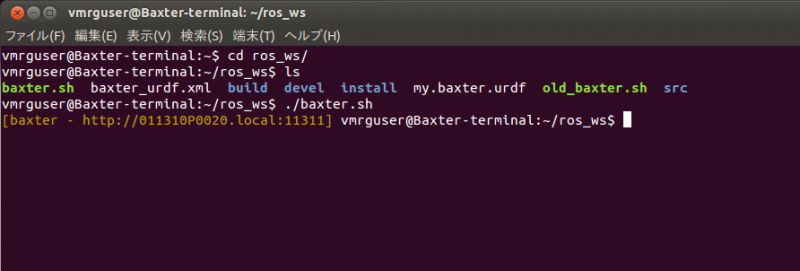
 % cd ~/ros_ws
 % baxter.sh
In baxter.sh, IP/port are determined and some methods will be done to communicate with Baxter from Baxter-PC. You will see the following messages on the terminal.

ATTENTION 1:baxter.sh should be done for each terminal.
ATTENTION 2:IP address of Baxter-PC should be determined in baxter.sh. Baxter-PC is currently under DHCP; thus, you should check current IP address of Baxter-PC and change the address written in baxter.sh.
NOTE:Use 'ctl-D' when you want to stop the communication mode
TODO:Get and set a fixed IP address for Baxter-PC.
4) Enable Baxter (Turn on the driving system)
So far, the driving system of Baxter is not being supplied with power. Then, turn on the driving system.
 % rosrun baxter_tools enable.py -e
 Robot Stopped: Attempting Reset...
 Resetting robot...
 Robot Enabled
ATTENTION:The arms would shake a little bit after enabling Baxter.
2. Stop Baxter
1) Disable Baxter (Turn off the driving system)
 % rosrun baxter_tools enable.py -d
 Robot Disabled
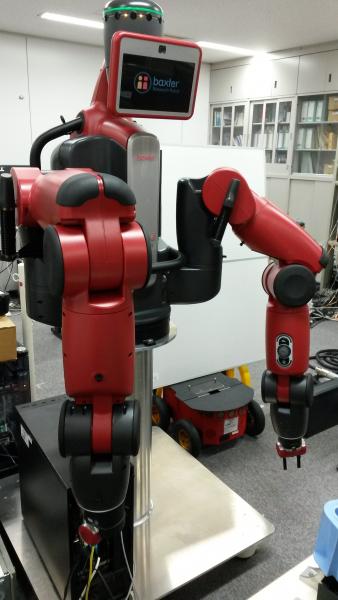
ATTENTION:After disabling Baxter, it will automatically return to the following initial configuration. Check the obstacles around Baxter.

2) Turn off Baxter by pushing the switch at the left back of the body.
3) Shut down Baxter-PC
3. Software needed for controlling Baxter
The following all software has been installed in Baxter-PC.
1) ROS
Groovy has been installed.
2) ros-package for Baxter
The "ros_ws" directory under the home directory is Baxter's work space. You can find source files of Baxter related packages under "src" directory.
It is recommended to make your own packages under the directory. "move_baxter", "force_control", "replay", "move_msgs" are Ixchel's package.
ATTENTION:If you have to update ROS, you should use new Baxter ros-package that matches with the updated ROS version.
[reference]
http://sdk.rethinkrobotics.com/wiki/Workstation_Setup
4. How to control Baxter (using ros topic in terminal window)
You can control Baxter by using ros topic prepared in Baxter ros-package.
1) List up all ros topic for Baxter
The ros topics for Baxter will be shown as "/robot/***".
% rostopic list
2) Monitor the condition of Baxter(ex. JointAngle)
 % rostopic echo /robot/***        (obtain data and show them at each sampling time, use "Ctr-C" to stop the topic)
 % rostopic echo -n 1 /robot/*** (obtain data and show them one time)
3) Execute ros topic command
% rostopic pub /robot/***
[reference]
In ServiceCall_replayJoints.txt, you can find some useful commands including hand calibration.
ATTENTION 1: Topic commands will be sent to and received by Baxter regardless of the condition of Baxter, such as enable/disable. If you sent a topic command to move Baxter while it is disabled, the received command would be automatically executed after enabled.
ATTENTION 2: Only one topic command can be received by Baxter, and a command that has not been executed will be overwritten.
5. How to control Baxter (using your own ros node)
1) Make template of your new ros node
You can use "roscreate_package." If you determine package dependency, it automatically create CMakeList.txt, packageList.xml.
The two files defines package name and dependencies and can be used for "catkin make".
[reference] This process is same as how to make normal ros nodes, so you can get a lot of information in ROS wiki etc.
2) Obtain the condition of Baxter regularly
Use subscribe() for a target topic to obtain the data regularly.
NOTE:Each subscribe() would use one thread. Therefore, if you need multiple subscribe at the same time, you should use MultiTread.spiner() in order to make the ros node be able to accept multiple subscribe commands.
3) Propose ros services
Use advertise for a target service.
[reference] You can get information from initialPose.h/cpp of move_baxter package, which is made by Ixchel.
6. Other information
1) Calibration for arms
For arm calibration, 2x2 meters space around Baxter is needed because Baxter stretch its own arms during the calibration.
You should execute the calibration once a month (but it has not been executed for a long time...).
2) Calibration for grippers
You should execute the calibration by the following command every time after turn on Baxter, otherwise you can't move grippers.
% rostopic pub /robot/****
3) Position accuracy of left hand
The tip of left hand will be about one cm upper than the tip of right hand if you control the arms by determining the position of each hand. This has also occurred even after the arm calibration.
4) Period of data subscription
100 or 200Hz, determined by Baxter
5) Force data
Force data that will be applied at the tip of each hand is estimated by load torque added to each joints. The estimation process is executed inside Baxter. Youc can get the force data applied at the tip and each joints by ros topic echo.
NOTE: Accuracy is bad. The data will change easily and not be around 0 if no load is added.
6) Trajectory controll
You can use the topic named as JointTrajectoryServer. Send the sequence of joint angles and corresponding time sequence. The topic control the arm of Baxter based on the input sequences.
NOTE: Joint velocity limits are determined in Baxter. If you send a joint angle sequence that could exceeds the joint velocity limits, the inputted joint angles will be moderated not to exceed the limits in Baxter.
