Grasp Planning Tutorial
Three of these functions, SetObject, SetRobot, and Grasp are used in this document.
See Grasp Plug-in.
Running Choreonoid
Run Choreonoid from the terminal. There is no need to include and use GraspPlannerComp and Eclipse at this time.
Preparing grasp planning (example)
First, refer to Choreonoid 1.0 Basic Tutorial to open the hand robot, PA10.yaml, and the duck, ahiruhrp.wrl, and arrange them appropriately.
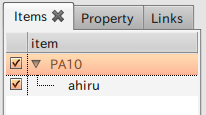
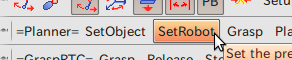
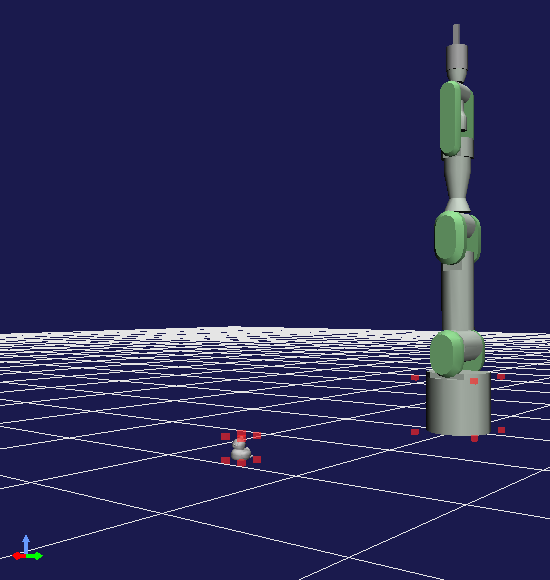
Once the items have been arranged, set the grasping robot and an object. Select PA10 in the Items tab and click on “SetRobot” in the Planner bar.
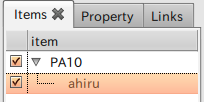
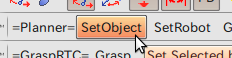
If “PA10 is grasping robot” is displayed on the Message tab, then the procedure has been completed successfully. Select ahiru in the Items tab and then click on “SetObject” in the Planner bar.
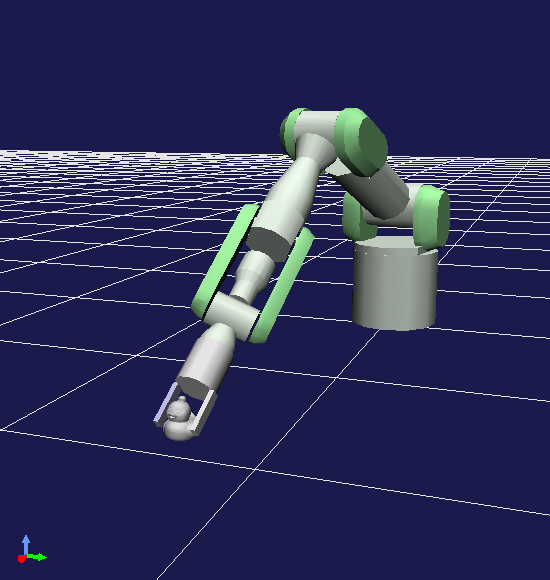
If “ahiru is grasped object” is displayed on the Message tab, then the procedure has been completed successfully. Once the robot and the object have been set, click on “Grasp” in the Planner bar.

If all goes well, the position of the robot changes to that of grasping the object (note: no animated images are provided; use the PRM plugin to generate a motion plan for the arm). In addition, “GRC” is added as a subordinate item to PA10 in the Items tab.
The following message will appear in the message column:
 prehension 0 is selected
 Success: Grasp Planning
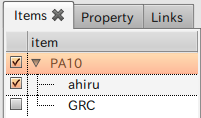
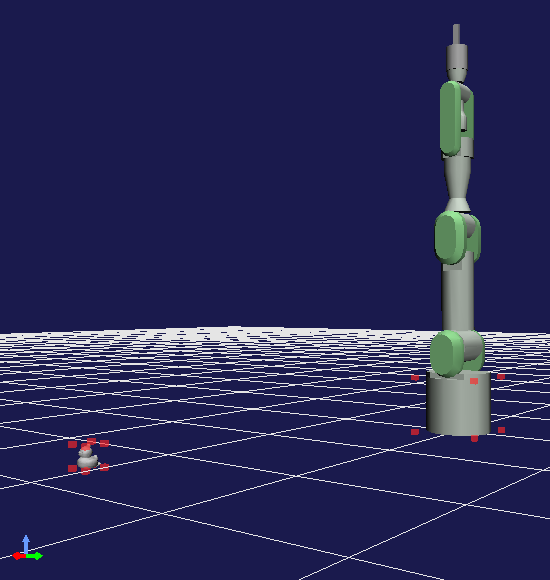
The position and angle of the gripper is obtained based on the positional relationship between the robot and the object at this point, with the stance of the robot calculated based on that position. If this does not work correctly and the message, “cannot find palm position” is displayed, this means that the position of the gripper could not be obtained. Try clicking on Grasp again after moving the object closer to the robot.
 |
 |
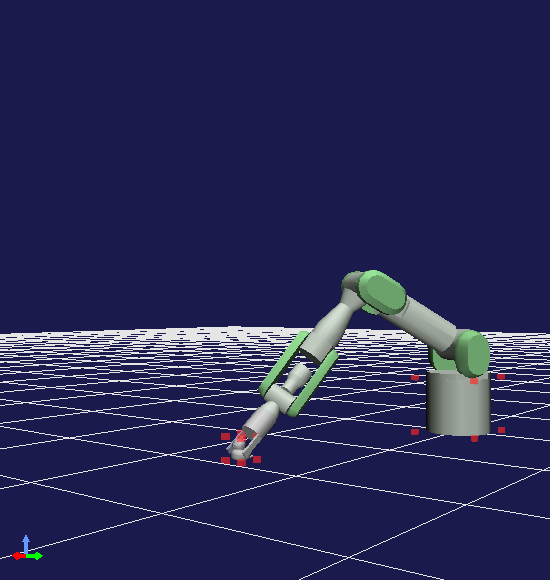 |
| The object was too far away to grasp | Object moved closer to robot | Successful grasping! |
|---|
When Grasp has been successfully completed, click on a location near the robot where there is no other object at this time and click on “Place.” The robot sets the object at the clicked location (currently being developed).
The grasping motion plan can be saved to file using SaveGraspPattern for external use (currently being developed).
- Printer-friendly version
- Login to post comments
- 日本語